If you want to reduce the network administration work, then you can do it with DHCP (Dynamic Host Configuration Protocol). This is also the most reliable IP configuration method. Even though the network management protocol works by default, the functioning depends on the parameters set by the admin of the computer. One of such parameters set by the admin is the lease time that is specifically allotted to an IP address. Users may set this lease time depending on their requirements. If you are looking to change the DHCP lease time, then you’ve come to the right place. In this article, we are going to explain in detail about DHCP and how to change the DHCP lease time.
Change DHCP Lease Time : How It Works on Windows 10
What is DHCP lease time:
When your device is connected to a local network such as Wi-Fi or Ethernet then the DHCP server located on your network router will allot your device a new IP address. With this new IP address, your device will have an ID that will be used by other devices to locate and connect. Once connected, this new IP address usually lasts for 24 hours. This is called the DHCP lease time. If the DHCP lease time is low, then the network computers will lose their allotted IP address in less time leading to requesting the DHCP server for the new IP address more often. Because of this, users change the DHCP lease time based on their requirements.
If you want to avoid any IP conflicts, then you need to set the DHCP lease time accordingly. When you are running a large open network where users, then there will be frequent short-term connections. In this situation, having less lease time is more beneficial because the IP address needs to be relocated in short intervals in order for the new devices to be connected.
How to check DHCP lease time in Windows 10:
If you want to check the default DHCP lease time set on your Windows 10 computer, just follow the below steps to know how to do it.
- Click on the search bar located on the taskbar. In the search field, enter ‘Run’ and click on the enter button to open the run dialog box.
- In the dialog box, you need to enter ‘cmd’ and then click on the OK button. Now command prompt app will open.
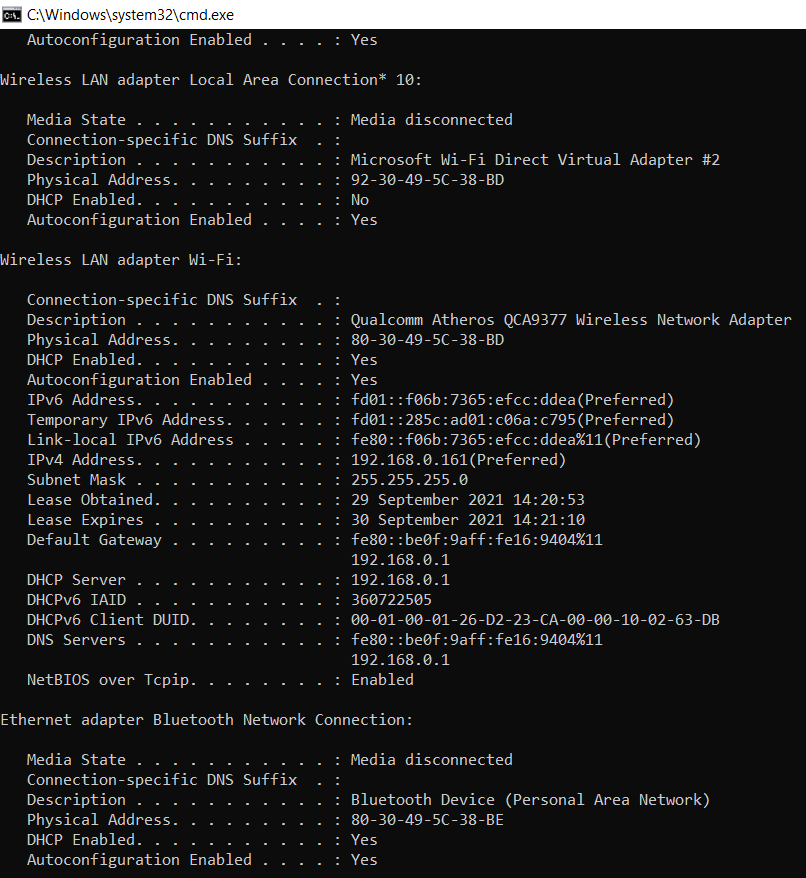
- In the command prompt window, you need to enter ‘ipconfig/all and then press the enter button.
- Now you will be able to see the information about the network connections. In the last column, there will be two entries that are ‘Lease obtained’ and the ‘lease expired’.
- Here you will be able to see the DHCP lease time. Usually, the lease time will be 24 hours on your computer by default.
Change DHCP in Windows 10 computer:
You can change the DHCP lease time in Windows 10 computers in two ways, either by the router or with the DHCP server. In this article, we are going to explain how to change the DHCP lease time in both ways.
1. Change DHCP lease time in Windows 10 computer using router:
Follow the below steps to how to change the DHCP lease time in Windows 10 computer using the router.
- Open any browser on your computer. In the URL field, you need to enter ‘192.168.0.1’ and then press the enter button. You can actually check the IP address of your router on the backside of the device.
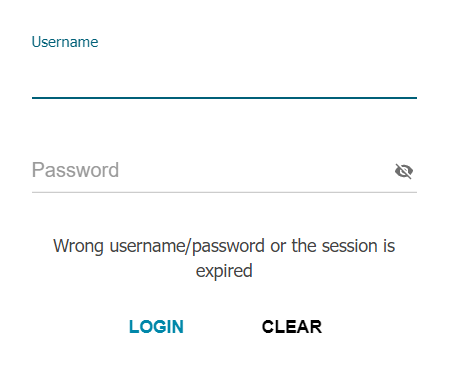
- Now you need to enter the Username and password of your router.
- On the left pane side of your screen, you will be able to see the Lan settings option. Click on it.
- Here you will find the DHCP server settings section. Under this section, look out for the ‘Lease time’.
- In the field besides the ‘lease time’ you can change the lease time according to your requirements.
- After you are done with it, click on the ‘Save’ button and close the window.
- Just restart your computer now and the changes will be applied.
2. By Using DHCP server:
Follow the below steps to know how to change the DHCP lease time in Windows 10 using DHCP server.
- Click on the search bar located on the taskbar. In the search field, enter ‘Run’ and click on the enter button to open the run dialog box.
- Now you need to enter ‘dhcpmgmt.msc’ in the enter field and then click on the Ok button.
- Look out for the DHCP scope that you want to change the lease time and then open its properties.
- Here you will be able to find the ‘Lease duration for DHCP clients’ section. Under this section, click on the General tab.
- Now you need to enter the new lease time in the ‘Limited to’ field and then click on the ‘Ok’ button in order to save the changes.
- Restart your computer now and the lease time will be changed to the time you’ve set to.
Also check : Fix Ethernet IP Configuration Errors
Conclusion :
Hope we have covered everything about the DHCP lease time and how to change the DHCP lease time in Windows 10 computer. If you have any queries regarding the above article, then please let us know in the comments below. We will get back to you with the best solution as soon as possible.