
Windows has an in-built feature where you can dictate words into any word file such as Notepad or Microsoft Word. This feature comes in handy for people who write a huge number of articles every day. With Windows 11, Microsoft has made a huge number of changes to this voice tool. The user interface of the app is changed and few more settings are added. In this article, we are going to explain how to use the voice typing tool in Windows 11.
How to use the Voice Typing tool in Windows 11:
The voice typing tool in Windows 11 is not a complex app and using it is pretty simple. Follow the below steps to know how to use it.
- In order to use this tool, you need to open any word-processing tool such as Microsoft Word or Notepad.
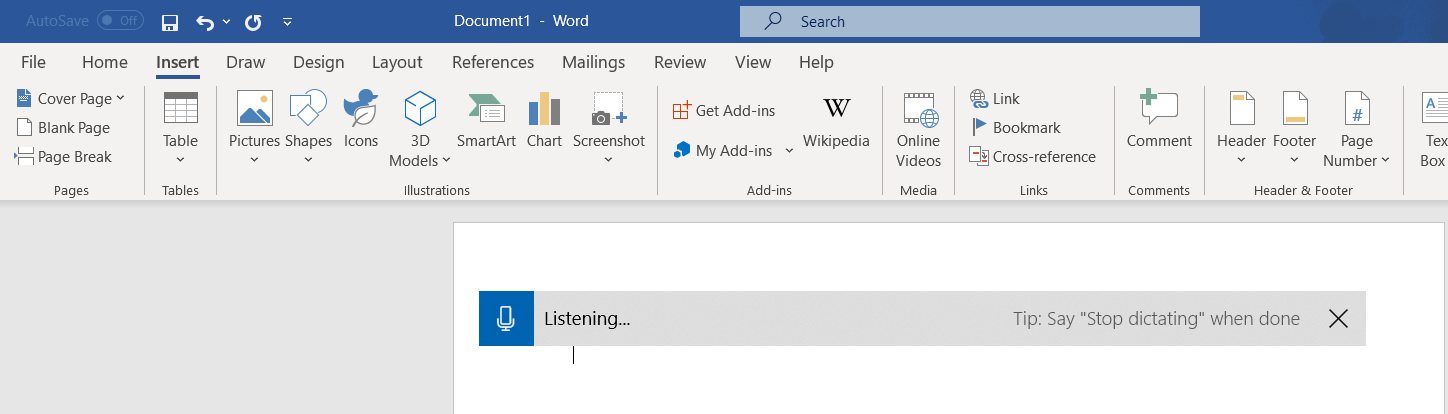
- Now press and hold the Windows key + H in order to open the voice typing toolbar.
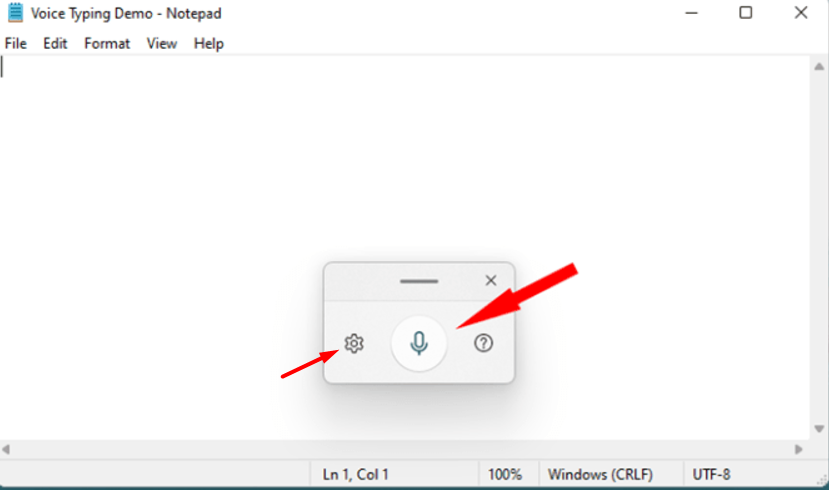
- On the pop-up window, you will be able to see the microphone icon in the middle. Click on that icon.
- Now you can speak anything you want and the words will be entered into the word document simultaneously.
- Once you are done with it, click on the microphone icon to stop.
- If you feel like the tool window is objecting the screen view, you can move its position by holding the top bar and dragging it to wherever you want on the screen.
How to enable Auto-punctuation:
You need to enable the Auto-punctuation option if you want the text entered to be grammatically correct. Follow the below steps to know how to enable auto-punctuation.
- Open any word-processing tool and then you need to launch the voice typing tool.
- In the pop-up window, beside the microphone icon, you will be able to see the settings icon. Click on that.
- Beside the auto-punctuation option, you need to toggle the button to the ‘ON’ position to enable it.
- Once you are done with it, close the settings and click on the Microphone icon to start speaking.
- Now the speech entered in the word document will have auto-punctuation enabled.
Also Check : How to Shutdown, Restart, Sign, Sleep, Hibernate in Windows 11
How to enable Voice typing launcher:
If you are someone who will be using the voice typing tool, then enabling voice typing launcher will be helpful for you. You will be able to access this tool quickly without using any shortcuts. Follow the below steps to know how to enable the voice typing launcher.
- Open any word-processing tool and then you need to launch the voice typing tool.
- In the pop-up window, beside the microphone icon, you will be able to see the settings icon. Click on that.
- Beside the voice typing launcher option, you need to toggle the button to the ‘ON’ position to enable it.
- Now if you click on any text field, you will be able to see the launcher. You can simply click on the microphone icon to start speaking and the tool will start dictating immediately.
Conclusion:
Hope we have covered everything about how to use the voice typing tool in Windows 11. If you have any issues regarding the above article, then please let us know in the comments below. We will get back to you with the solution as soon as possible.